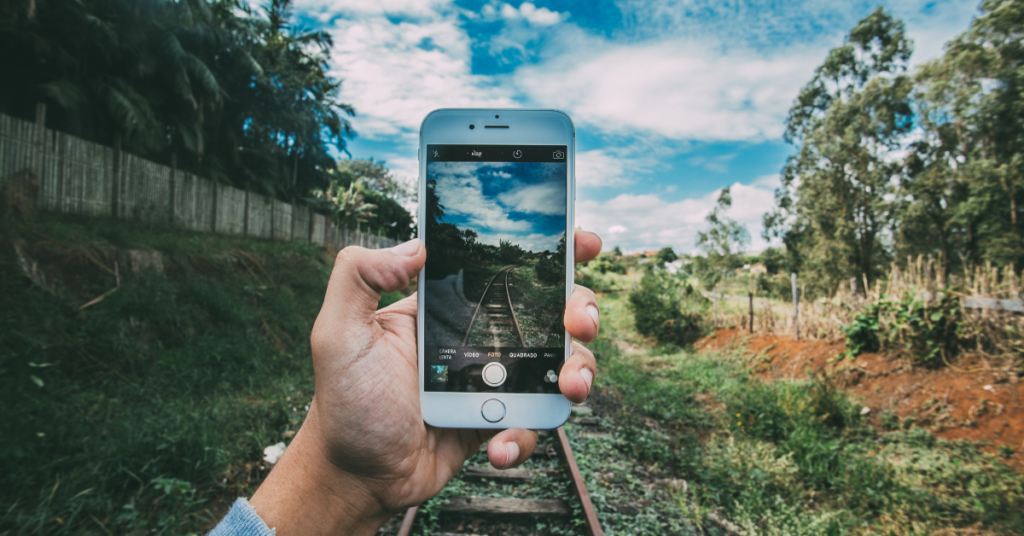
Each year on August 19, World Photography Day is marked to celebrate the work of photographers, the professionals who skillfully capture moments that last a lifetime. If you are not a professional photographer with a sophisticated camera but like to take photos with your phone, you may want to check out these 5 iPhone camera settings that will supercharge your mobile photography experience.
Many people now use their smartphones as their primary camera, making it possible to capture every moment without an external camera. In this sense, iPhones are a little bit better than the competitors. Even while the point-to-shoot cameras on the majority of new iPhones are now very good, there’s always room for improvement. If you use an iPhone, here are five iPhone camera settings you need to do to enhance your experience of using your phone’s camera to take photos:
1. Enable lens correction
Lens correction helps minimize distortion, especially around the edges—a typical problem with ultra-wide-angle lenses—for individuals who love taking landscape shots with their iPhone and ultra-wide-angle lenses. The majority of the latest iPhones come with this feature. If yours isn’t the very latest, you can try this setting to enhance your experience with your camera.
2. Enable prioritise faster shooting

If you enable this, your iPhone will take pictures faster and with better quality, which is very useful when attempting to take pictures of things in motion. This is an essential function for anyone who enjoys taking rapid photos with their iPhone and wants the images to be sharp and nice.
3. Enable mirror front camera
To take a selfie that resembles its reflection in a mirror, anyone who enjoys taking selfies with their iPhone needs to turn on the mirror front camera feature. There is one problem with this since the writings inscribed on the objects tend to read backwards. If you don’t care about this, you should enhance your experience with your camera with this setting on your iPhone camera.
4. Disable auto-flash
iPhones are sufficiently smart to automatically turn on or off flash based on the amount of light present. However, it helps to turn off your iPhone’s auto flash if you want to take a photo that seems real. This makes it possible to take photos that appear real even in low light situations where the flash may overexpose the scene and give it an artificial appearance.
5. Enable gridlines and level
If you are having problems lining up a subject when using an iPhone, go into the settings and activate the grid and level feature. Using this feature on your iPhone to precisely frame to capture a scene is simple. It is simple to frame a subject when the camera viewfinder is activated, as it displays lines and a level choice on the screen.
For all you iPhone users, these iPhone camera settings should help you take better photos with your smartphone. Go check them out.

Are you enjoying your time on JBKlutse?
Articles like these are sponsored free for everyone through the support of generous readers just like you. Thanks to their partnership in our mission, we reach more than 50,000 unique users monthly!
Please help us continue to bring the tech narrative to people everywhere through relevant and simple tech news, reviews, buying guides, and more.
Support JBKkutse with a gift today!